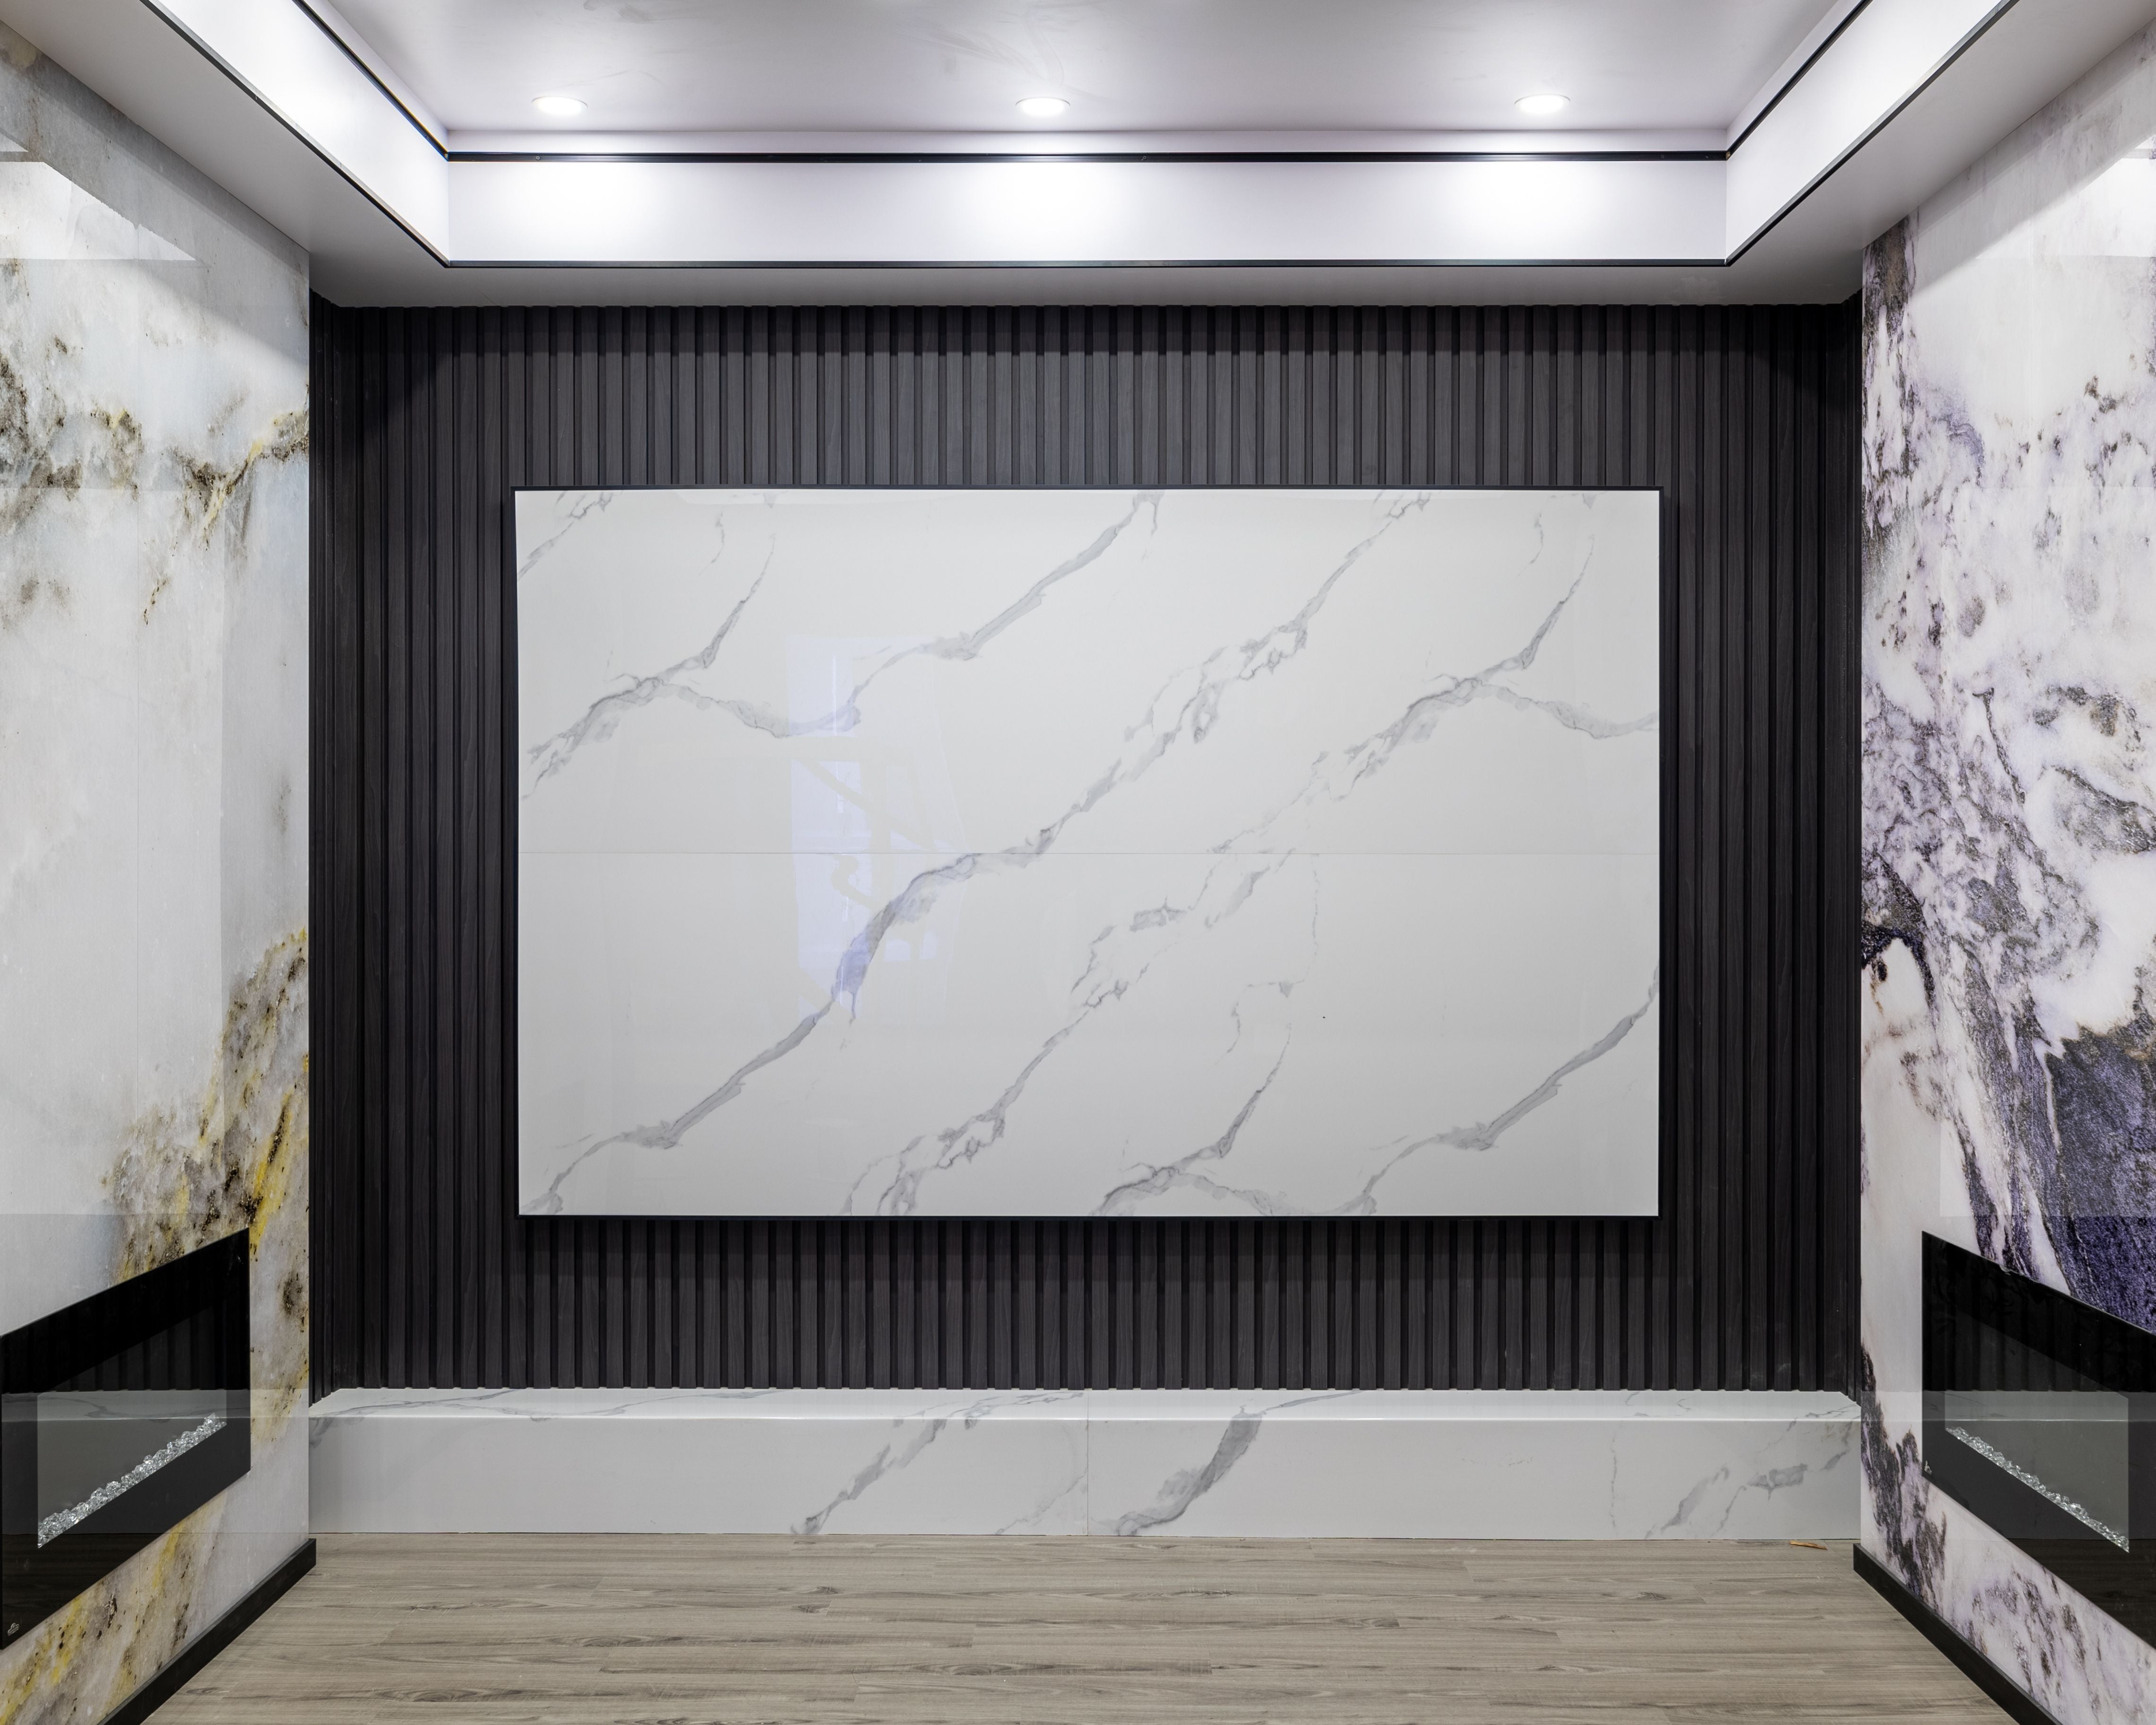


How to Install Large Wall Panels on a Flat Interior Wall

Large wall panels can cover a big area with fewer joints. They are often used for feature walls, reception areas, offices, retail spaces and home interiors.
This guide show a simple direct-to-wall installation process. It does not use wood or metal framing behind the panels. Every wall are a little different, so check the wall condition, panel type, adhesive instructions and local project requirements before starting.
Tools and Materials
Prepare the tools before you begin. You may need a tape measure, pencil, long level or laser level, square, track saw or circular saw, dust extractor, caulking gun, construction adhesive, mounting tape, rubber mallet, tapping block, safety glasses, gloves and hearing protection.

Use a blade and adhesive that are suitable for the panel. If the project uses edge trims or joint trims, keep them close to the work area too.
1. Check and Clean the Wall
The wall should be solid, dry, clean and reasonably flat. Remove dust, grease, loose paint and any small material that can stop the panel from sitting flat.

Use a long level to check the wall in different places. Small low or high spots should be corrected before installation. A clean and flat wall make the next steps easier, and the panel joints will also look better.
Do not install over a wall that is loose, wet or badly damaged. Fix the wall first and let it dry.
2. Measure the Wall and Plan the Layout
Measure the wall height and width in more than one place. Walls are not always perfectly square, even in a new building.
Plan where the first panel will start and where the last cut panel will finish. Try to avoid leaving a very narrow piece at the end of the wall. Mark a straight vertical starting line with a laser or level.
Do not rush this part. A small measuring mistake can become bigger after several panels is installed.
3. Measure and Cut the Panel
Place the panel on a clean, padded and fully supported work surface. Mark the cutting line with a pencil and square. Check the measurement one more time before cutting.

Use a track saw or circular saw with the correct blade for the panel material. Connect dust extraction when possible. Wear eye protection, hearing protection and dust protection during cutting.
Keep both hands in a safe position and support the panel on both sides of the cut. After cutting, test the panel on the wall before adhesive is applied.
4. Apply Adhesive to the Back
Lay the cut panel face down on padded supports. Apply a compatible construction adhesive to the back of the panel. Keep the adhesive even and do not place it too close to the panel edge, because extra adhesive may squeeze out at the joint.

Some installation systems also use high-grab mounting tape to hold the panel while the adhesive sets. Only use it when it is suitable for the panel, wall and adhesive system.
The exact adhesive pattern and curing time should follow the adhesive and panel instructions.
5. Install the First Panel
If the design uses a starter trim or edge trim, install it straight and plumb first. Place small temporary spacers at the floor if needed, then lift the first panel into position.

Align the panel with the starting line. Press it evenly against the wall from top to bottom. Check the vertical line again before the adhesive starts to hold.
The first panel decide how the rest of the wall will look, so take a little more time here.
6. Continue With the Next Panels
Measure and prepare the next panel in the same way. Align the joint or connector, then bring the panel slowly into position.

Use hand pressure across the panel surface. If a rubber mallet is needed, tap gently against a small wood block. Do not hit the finished panel surface directly.
Check the joints and vertical alignment after every panel. If one panel sit out of line, the difference can be more visible farther along the wall.
7. Finish the Last Edge
Measure the remaining wall space carefully before cutting the last panel. Finish the outside edge with the trim or edge detail selected for the project.
Corners, outlets and other openings need accurate measuring. Electrical work and difficult site conditions should be handled by a qualified trade when required.
8. Clean and Inspect the Wall
Remove any adhesive from the finished surface before it cures, using the cleaning method approved for the panel. Check that the joints are straight and the panels sit flat.
Leave the installation undisturbed for the curing time given by the adhesive manufacturer. Temporary spacers can be removed after the panels are secure.
A Simple Installation Makes a Clean Wall
Large wall panel installation is mostly about good preparation, careful measuring and keeping the first panel straight. Simple work done carefully usually look better than trying to move too fast.
See our wall panel options for Canadian interiors, or contact RichVaugh Wall Panel to discuss the wall size, finish direction and basic needs for your residential or commercial project.